Topaz Labs

Topaz Image Sharpen

Topaz Sharpen separates different causes and subjects instead of applying one universal filter. Standard, Natural, Portrait, Wildlife, Lens Blur, Motion Blur, and Refocus target specific conventional cases; Strong is intended for heavier blur. Super Focus variants are generative and may reconstruct information, so use them after standard sharpening cannot recover a usable result.

How to use this model

  1. 1

    Inspect the blur at 100% and decide whether it comes from focus, lens softness, camera or subject motion, or insufficient micro-detail.

  2. 2

    Choose the matching model; use Portrait or Wildlife when subject-specific texture matters.

  3. 3

    Begin with restrained strength and minor denoise, then increase only while real edges improve.

  4. 4

    Reserve Strong and Super Focus for sources that remain unusably soft after standard models.

  5. 5

    Check halos, doubled contours, skin texture, foliage, hair, and invented detail before saving.

Auto SharpenAvailable

Auto Sharpen

Auto Sharpen analyzes the source and chooses a sharpening treatment without requiring the user to diagnose the blur model first. It is a practical baseline for mixed batches, but a dedicated Lens Blur, Motion Blur, Portrait, or Wildlife model can be more predictable when the defect is known.

Properties

  • Automatically selects a sharpening treatment.
  • Useful as a baseline before a defect-specific model.

Best for

  • Automatically detects optimal sharpening based on input quality
  • Works across portraits, wildlife, landscapes, architecture, and more
  • No parameter configuration required

Tips

  • One-click sharpening with no tuning required

How to use this model

  1. 1

    Use Auto for a quick baseline or a mixed set of images.

  2. 2

    Compare its result with the unprocessed source at 100%.

  3. 3

    Switch to a dedicated model when lens, motion, portrait, or wildlife characteristics are clear.

  4. 4

    Check halos, noise amplification, hair, skin, and foliage before export.

Parameters

Output Format

Optional

The desired format of the output image.

  • jpg

  • png

  • tif

Image

Required

Source image

Lens Blur 2Available

Lens Blur 2

Lens Blur 2 targets softness caused by missed focus or lens behavior rather than directional subject movement. It produces stronger and more consistent correction than the earlier Lens Blur model, so strength should still be raised gradually to avoid edge halos.

Properties

  • Targets lens softness and missed focus.
  • Second-generation Lens Blur model with stronger correction.

Best for

  • Targets defocus and lens imperfections rather than motion blur
  • Delivers consistent sharpening across heavily blurred regions
  • Effective for high-intensity defocus correction

Tips

  • Defocus and lens blur correction

How to use this model

  1. 1

    Confirm that blur is optical softness rather than directional motion.

  2. 2

    Start at moderate strength and inspect high-contrast edges.

  3. 3

    Use minor denoise only if sharpening exposes noise.

  4. 4

    Check eyes, text, fine lines, and background bokeh for artifacts.

Parameters

Strength

Optional

Increases details. Too much sharpening can create an unrealistic result.

Minor Denoise

Optional

Removes noisy pixels to increase clarity.

Denoise Strength

Optional

Removes noise from the image. Defaults to 0.5 if omitted.

Face Enhancement

Optional

Leverages face recovery model to enhance faces.

Face Enhancement Strength

Optional

Sets the strength of the face recovery. Required if face_enhancement=true.

Face Enhancement Creativity

Optional

Choose realistic or creative face recovery. Required if face_enhancement=true.

Subject Detection

Optional

Sets the subject detection mode.

  • foreground

  • background

  • all

Output Format

Optional

The desired format of the output image.

  • jpg

  • png

  • tif

Image

Required

Source image

Motion BlurAvailable

Motion Blur

Motion Blur is trained for streaked or smeared detail that follows a movement direction. It is different from lens defocus: use it when edges show a directional trail, then balance strength against doubled contours and amplified noise.

Properties

  • Specialized for directional camera or subject motion blur.
  • Not intended as the default for optical defocus.

Best for

  • Targets blur caused by motion rather than defocus
  • Reduces smearing while restoring edge clarity
  • Best suited for action or handheld captures

Tips

  • Motion blur correction

How to use this model

  1. 1

    Inspect high-contrast edges for a consistent motion direction.

  2. 2

    Apply moderate strength before attempting severe correction.

  3. 3

    Add minor denoise only when recovered edges reveal noise.

  4. 4

    Check doubled outlines, faces, text, and thin geometry at 100%.

Parameters

Strength

Optional

Increases details. Too much sharpening can create an unrealistic result.

Minor Denoise

Optional

Removes noisy pixels to increase clarity.

Denoise Strength

Optional

Removes noise from the image. Defaults to 0.5 if omitted.

Face Enhancement

Optional

Leverages face recovery model to enhance faces.

Face Enhancement Strength

Optional

Sets the strength of the face recovery. Required if face_enhancement=true.

Face Enhancement Creativity

Optional

Choose realistic or creative face recovery. Required if face_enhancement=true.

Subject Detection

Optional

Sets the subject detection mode.

  • foreground

  • background

  • all

Output Format

Optional

The desired format of the output image.

  • jpg

  • png

  • tif

Image

Required

Source image

NaturalAvailable

Natural

Sharpen Natural is intended for texture-sensitive images where realism matters more than maximum crispness. It improves definition without pushing skin, foliage, fabric, or other organic surfaces toward a brittle, oversharpened appearance.

Properties

  • Prioritizes natural texture over maximum sharpness.
  • Well suited to organic and texture-sensitive subjects.

Best for

  • Maintains realistic texture and surface detail
  • Ideal for subtly soft images requiring restrained enhancement
  • Avoids halos, plastic textures, and over-sharpened edges

Tips

  • Natural texture sharpening

How to use this model

  1. 1

    Choose Natural for organic texture and already usable focus.

  2. 2

    Begin with low-to-moderate strength.

  3. 3

    Use minor denoise only when grain becomes distracting.

  4. 4

    Inspect skin, hair, fabric, foliage, and fine texture for brittleness.

Parameters

Strength

Optional

Increases details. Too much sharpening can create an unrealistic result.

Minor Denoise

Optional

Removes noisy pixels to increase clarity.

Denoise Strength

Optional

Removes noise from the image. Defaults to 0.5 if omitted.

Face Enhancement

Optional

Leverages face recovery model to enhance faces.

Face Enhancement Strength

Optional

Sets the strength of the face recovery. Required if face_enhancement=true.

Face Enhancement Creativity

Optional

Choose realistic or creative face recovery. Required if face_enhancement=true.

Subject Detection

Optional

Sets the subject detection mode.

  • foreground

  • background

  • all

Output Format

Optional

The desired format of the output image.

  • jpg

  • png

  • tif

Image

Required

Source image

PortraitAvailable

Portrait

Sharpen Portrait is trained for people and prioritizes eyes, hair, facial structure, and believable skin detail. It is most useful when the portrait already contains meaningful high-resolution information; face recovery should be added only when genuine facial detail is missing.

Properties

  • Subject-specific sharpening for people and portraits.
  • Exposes sharpen and denoise strength controls.

Best for

  • Optimized for faces and skin detail
  • Avoids harsh edges and unnatural texture
  • Best suited for portraits and close-up human subjects

Tips

  • Portrait detail recovery

How to use this model

  1. 1

    Use a high-quality portrait with visible facial detail.

  2. 2

    Start with restrained sharpen and denoise strength.

  3. 3

    Enable face recovery only if the source lacks usable facial information.

  4. 4

    Inspect eyes, eyelashes, hair, pores, teeth, jewelry, and background edges.

Parameters

Sharpen Strength

Optional

Removes blur from the image. Defaults to 0.5 if omitted.

Opacity

Optional

Defaults to 1.0 if omitted.

Denoise Strength

Optional

Removes noise from the image. Defaults to 0.5 if omitted.

Face Enhancement

Optional

Leverages face recovery model to enhance faces.

Face Enhancement Strength

Optional

Sets the strength of the face recovery. Required if face_enhancement=true.

Face Enhancement Creativity

Optional

Choose realistic or creative face recovery. Required if face_enhancement=true.

Subject Detection

Optional

Sets the subject detection mode.

  • foreground

  • background

  • all

Output Format

Optional

The desired format of the output image.

  • jpg

  • png

  • tif

Image

Required

Source image

RefocusAvailable

Refocus

Sharpen Refocus improves fine structure and texture when an image is only slightly out of focus. It is not intended for severe blur; Strong or Super Focus is more appropriate when large-scale structure cannot be recovered with ordinary sharpening.

Properties

  • Targets slight defocus and lost micro-detail.
  • Less suitable for severe or large-scale blur.

Best for

  • Brings out fine lines and subtle texture
  • Designed for lightly defocused images
  • Adds clarity without aggressive edge enhancement

Tips

  • Fine-detail refocusing

How to use this model

  1. 1

    Use Refocus when fine lines are soft but the main structure remains readable.

  2. 2

    Increase strength gradually while watching micro-contrast.

  3. 3

    Apply minor denoise only if texture turns noisy.

  4. 4

    Check text, hair, fabric, fine architecture, and repeated lines for ringing.

Parameters

Strength

Optional

Increases details. Too much sharpening can create an unrealistic result.

Minor Denoise

Optional

Removes noisy pixels to increase clarity.

Denoise Strength

Optional

Removes noise from the image. Defaults to 0.5 if omitted.

Face Enhancement

Optional

Leverages face recovery model to enhance faces.

Face Enhancement Strength

Optional

Sets the strength of the face recovery. Required if face_enhancement=true.

Face Enhancement Creativity

Optional

Choose realistic or creative face recovery. Required if face_enhancement=true.

Subject Detection

Optional

Sets the subject detection mode.

  • foreground

  • background

  • all

Output Format

Optional

The desired format of the output image.

  • jpg

  • png

  • tif

Image

Required

Source image

StandardAvailable

Standard

Sharpen Standard is the conventional starting point for images with modest blur and no clearly specialized subject. It balances detail recovery with minimal intervention and should be tried before Strong to reduce the risk of halos and artificial edges.

Properties

  • General-purpose model for mild lens and motion blur.
  • Recommended before the more aggressive Strong model.

Best for

  • Optimized for subtle lens blur and light motion blur
  • Recommended starting point for most photography sharpening workflows

Tips

  • General-purpose sharpening

How to use this model

  1. 1

    Choose Standard for mild mixed blur or uncertain diagnosis.

  2. 2

    Begin with moderate strength and inspect hard edges.

  3. 3

    Use minor denoise if sharpening exposes existing noise.

  4. 4

    Move to a specialized model only when Standard leaves a specific defect unresolved.

Examples

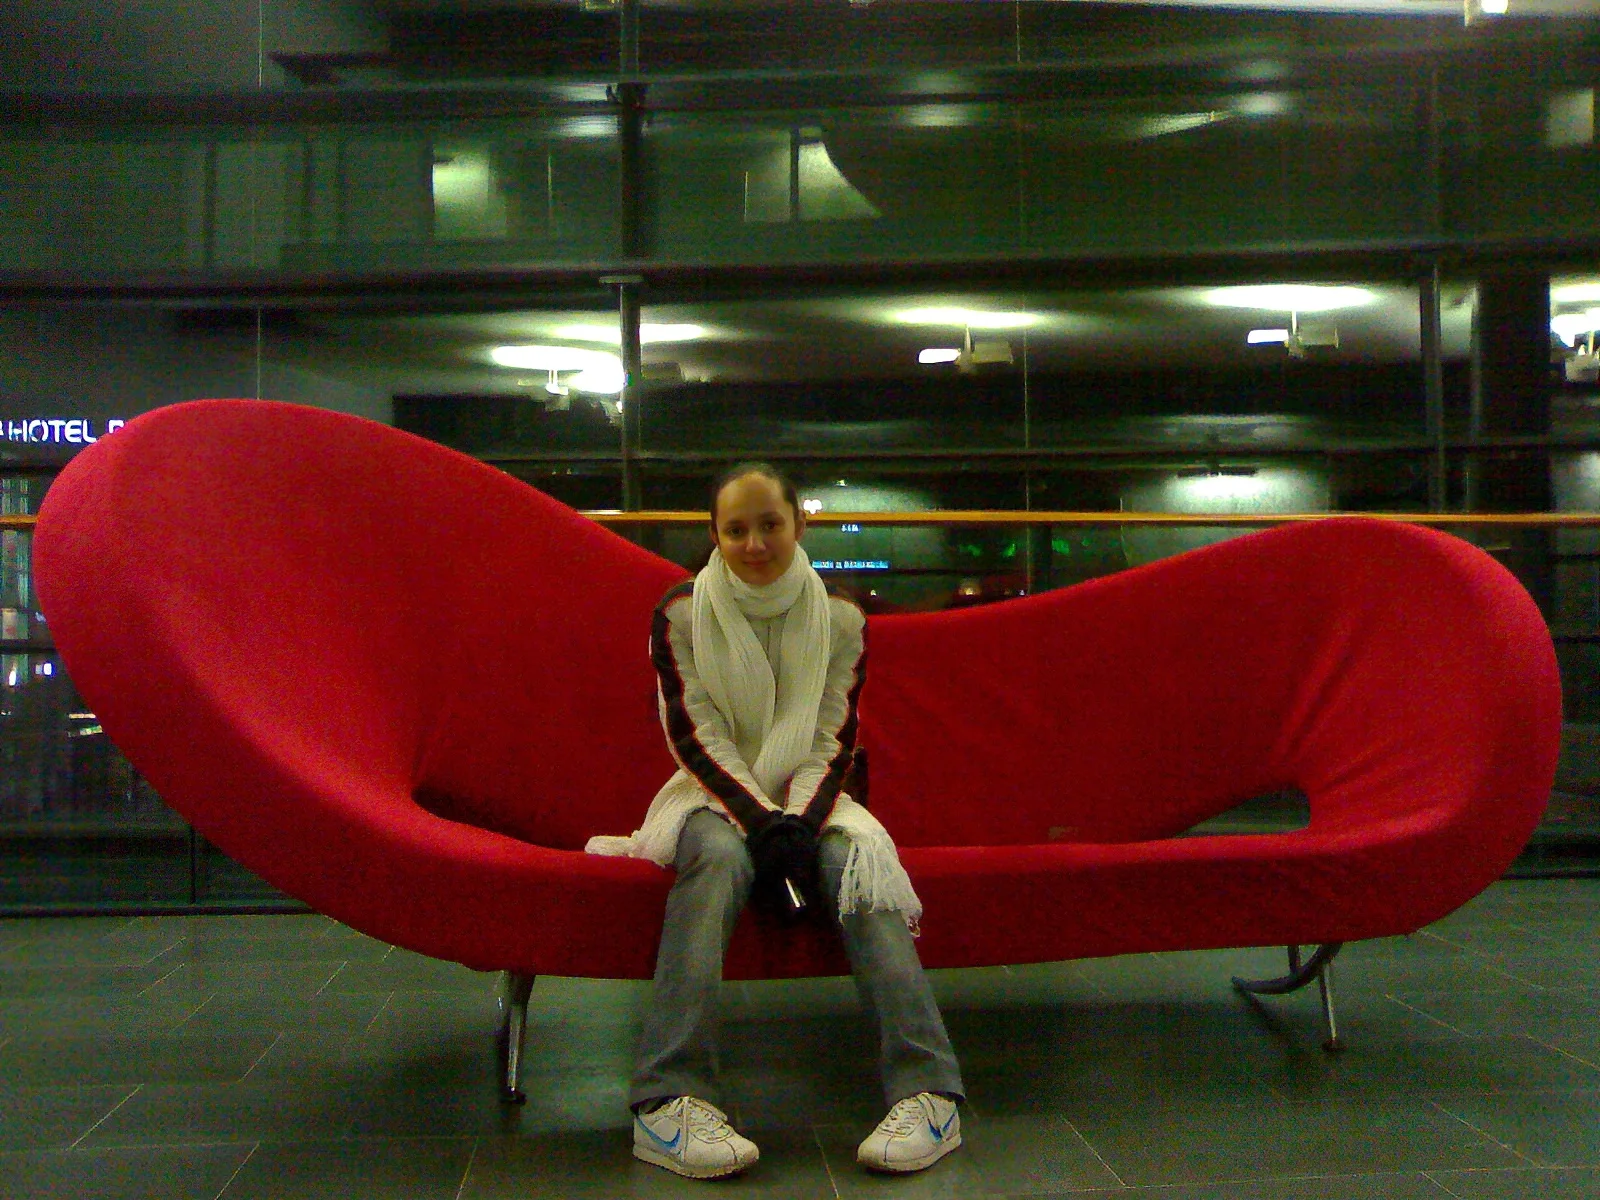
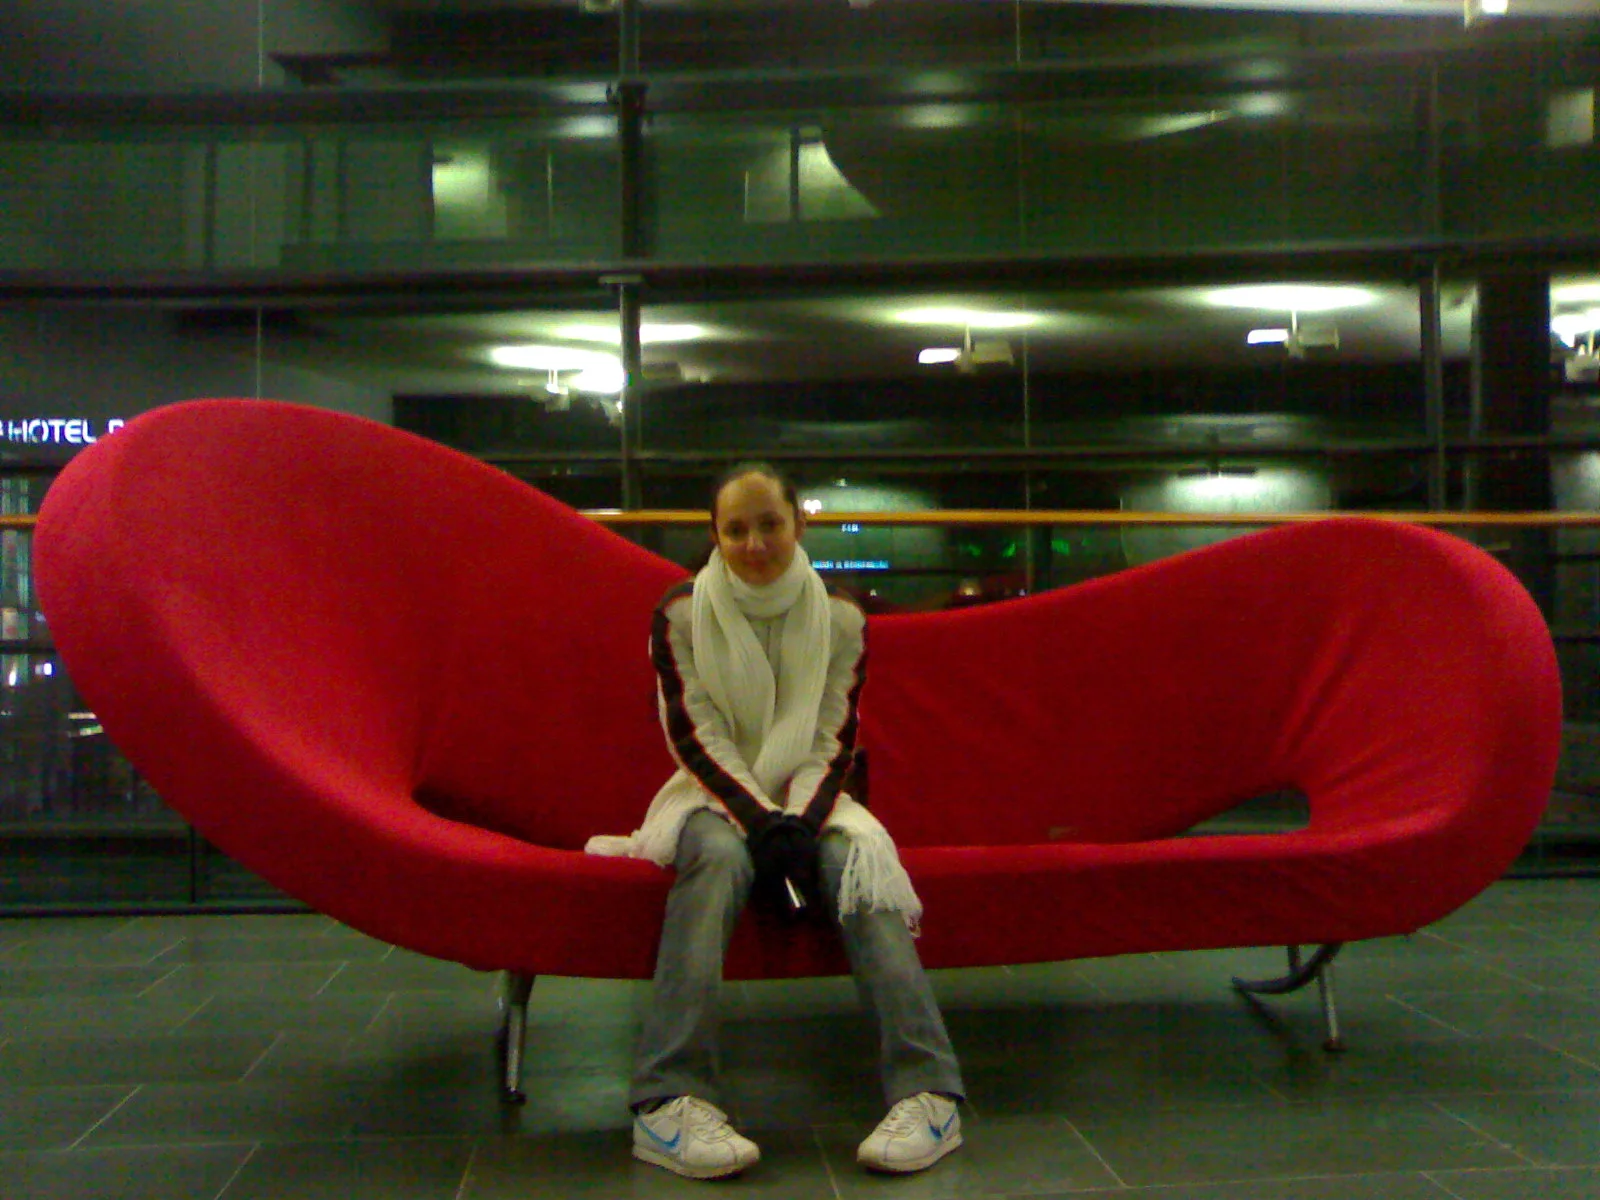
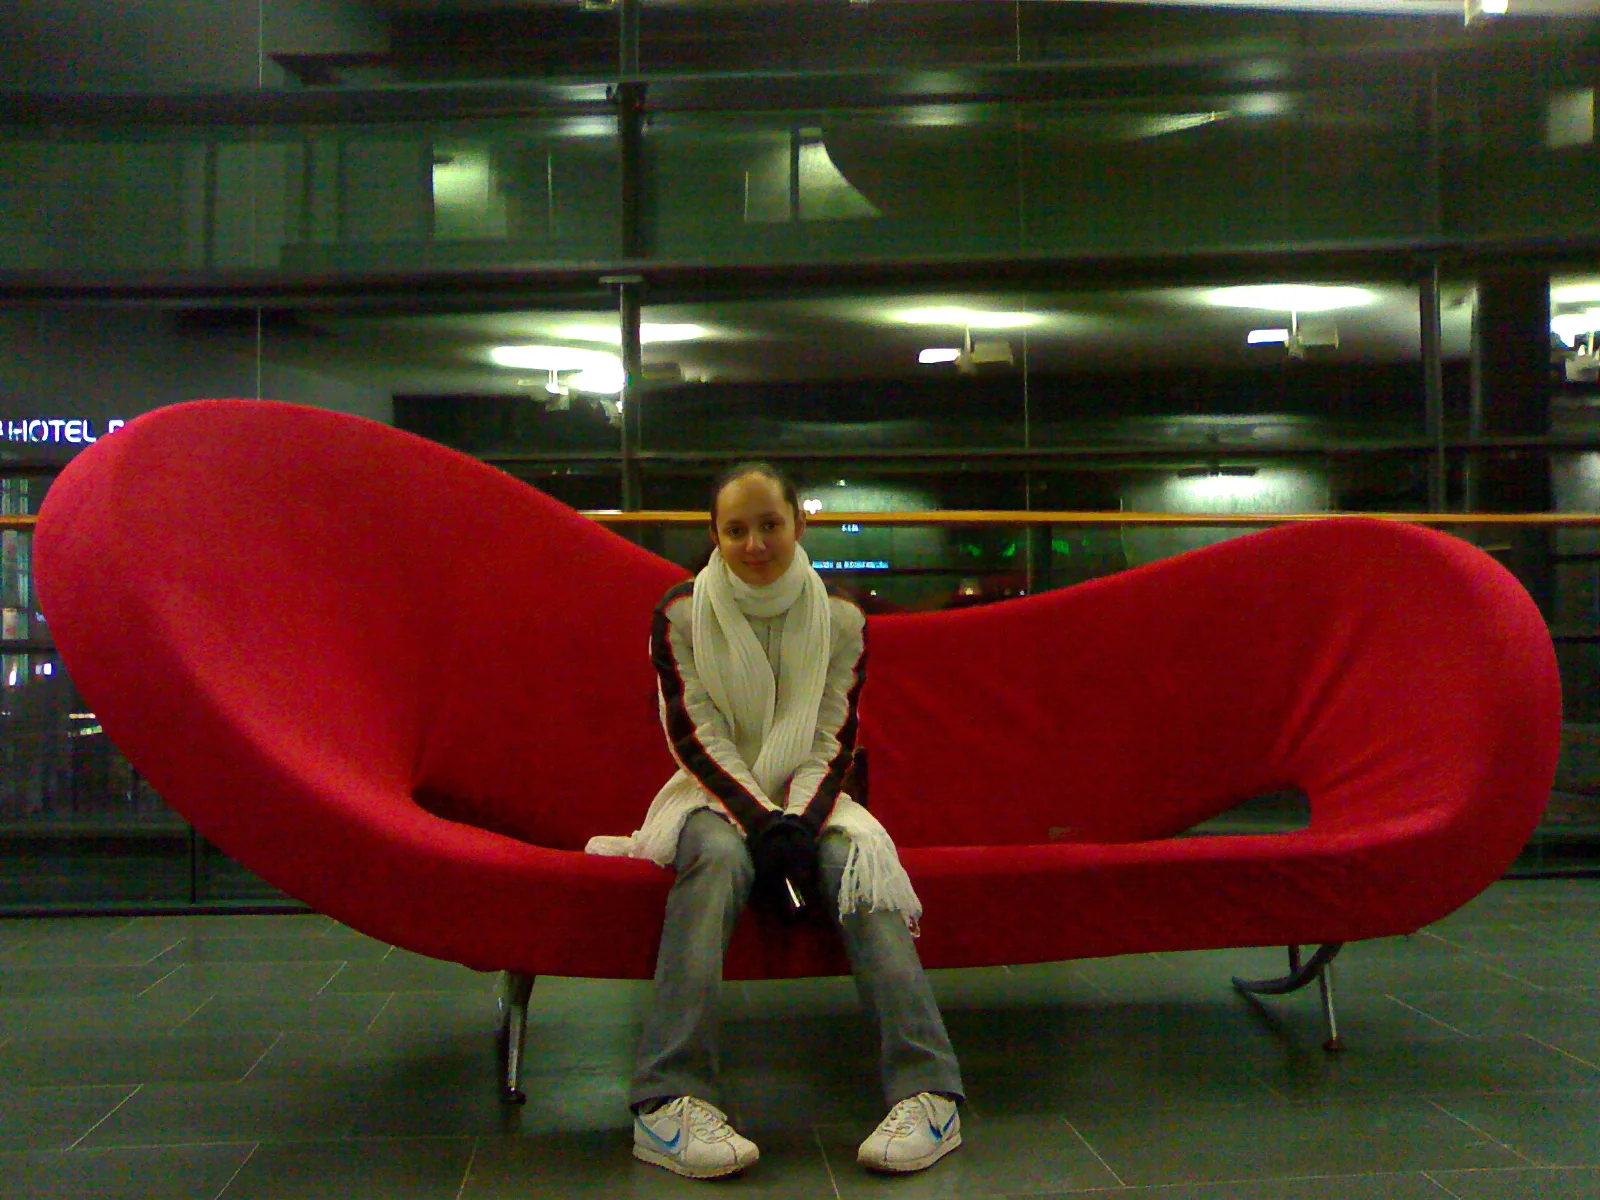
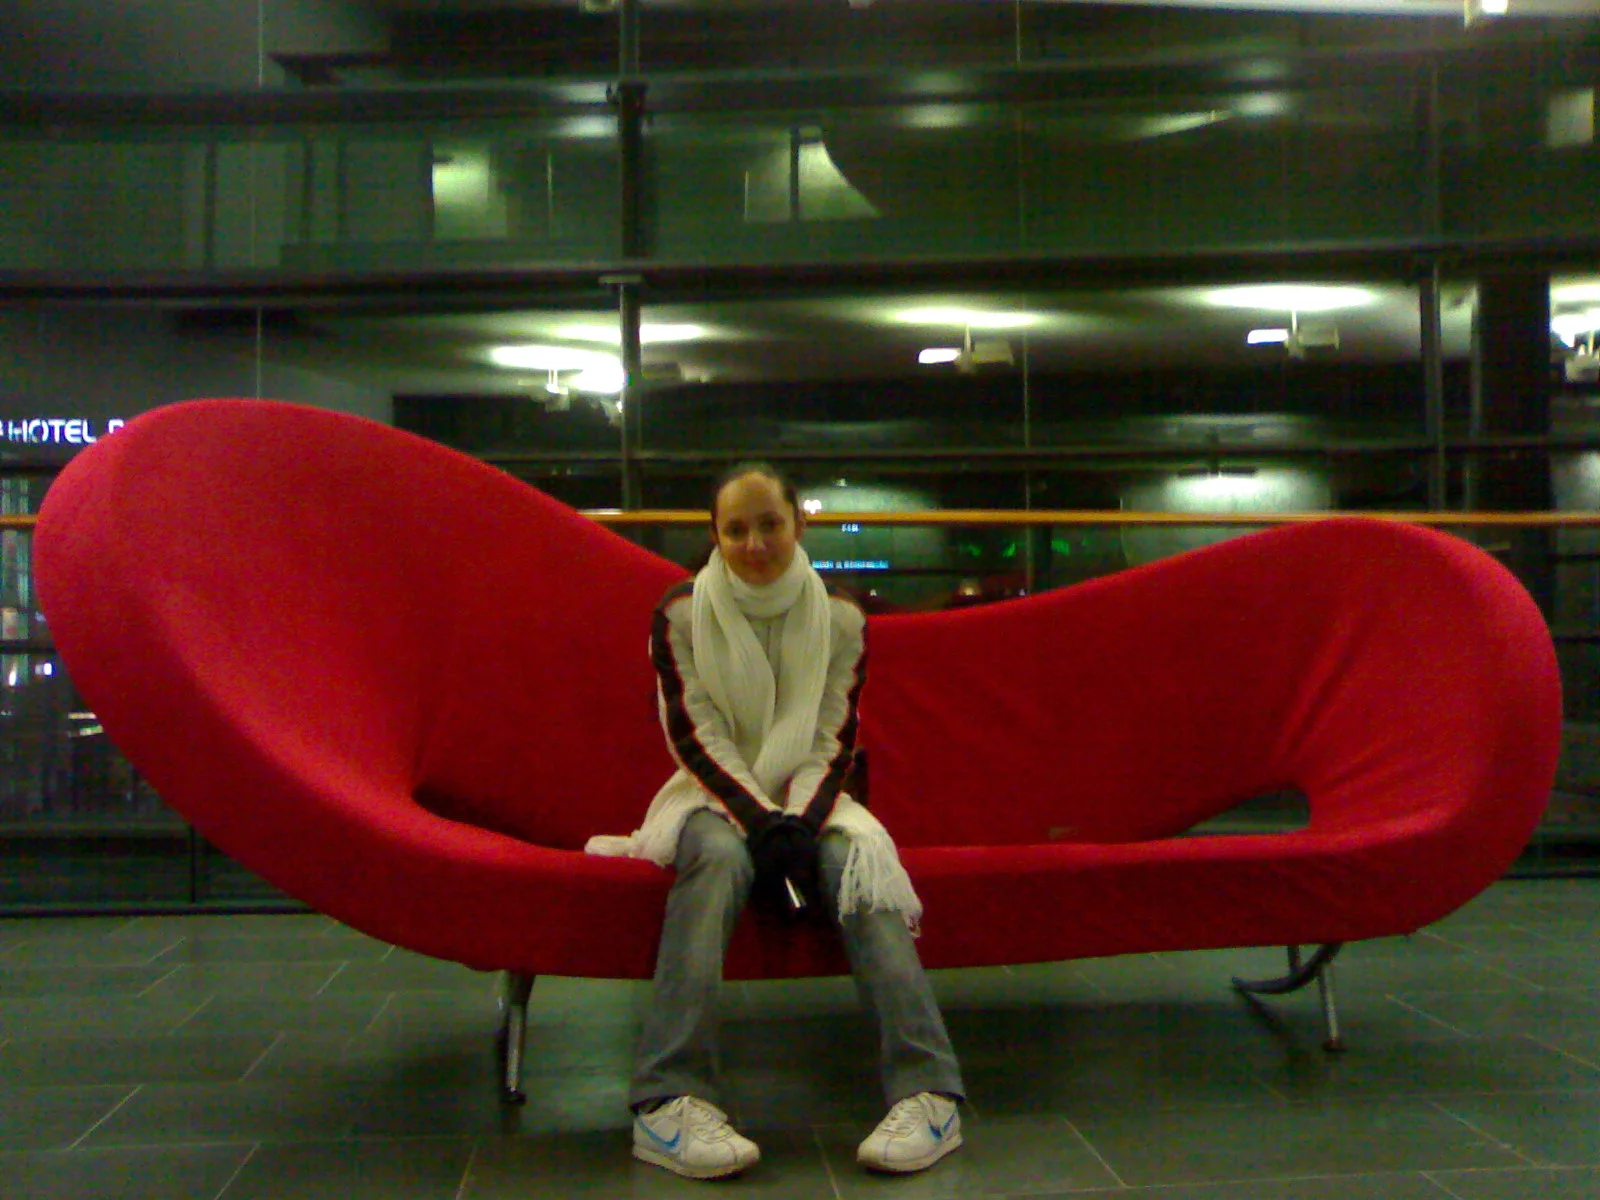
Indoor portrait after Topaz Sharpen Standard
Indoor portrait before standard sharpening
100%

Parameters

Sharpen Strength

Optional

Removes blur from the image. Defaults to 0.5 if omitted.

Opacity

Optional

Defaults to 1.0 if omitted.

Denoise Strength

Optional

Removes noise from the image. Defaults to 0.5 if omitted.

Face Enhancement

Optional

Leverages face recovery model to enhance faces.

Face Enhancement Strength

Optional

Sets the strength of the face recovery. Required if face_enhancement=true.

Face Enhancement Creativity

Optional

Choose realistic or creative face recovery. Required if face_enhancement=true.

Subject Detection

Optional

Sets the subject detection mode.

  • foreground

  • background

  • all

Output Format

Optional

The desired format of the output image.

  • jpg

  • png

  • tif

Image

Required

Source image

StrongAvailable

Strong

Sharpen Strong applies substantially more correction than Standard for images that remain unusably soft. It can recover difficult edges, but also raises the risk of ringing, doubled contours, noise, and an artificial appearance.

Properties

  • Stronger conventional correction than Standard.
  • Intended for severe blur where gentler models are insufficient.

Best for

  • Targets extreme blur and missed focus
  • Applies significantly stronger correction than Standard
  • Best used selectively to avoid artifacts

Tips

  • Severe blur recovery

How to use this model

  1. 1

    Try Standard or a defect-specific model before Strong.

  2. 2

    Start below maximum strength and increase only while real structure improves.

  3. 3

    Avoid compensating for noise with simultaneous extreme denoise.

  4. 4

    Inspect halos, doubled lines, faces, text, and thin geometry at 100%.

Examples

Indoor portrait after Topaz Sharpen Strong
Indoor portrait before strong sharpening
100%

Parameters

Sharpen Strength

Optional

Removes blur from the image. Defaults to 0.5 if omitted.

Opacity

Optional

Defaults to 1.0 if omitted.

Denoise Strength

Optional

Removes noise from the image. Defaults to 0.5 if omitted.

Face Enhancement

Optional

Leverages face recovery model to enhance faces.

Face Enhancement Strength

Optional

Sets the strength of the face recovery. Required if face_enhancement=true.

Face Enhancement Creativity

Optional

Choose realistic or creative face recovery. Required if face_enhancement=true.

Subject Detection

Optional

Sets the subject detection mode.

  • foreground

  • background

  • all

Output Format

Optional

The desired format of the output image.

  • jpg

  • png

  • tif

Image

Required

Source image

Super Focus 2Available

Super Focus 2

Super Focus 2 reconstructs missing information in difficult blurred images instead of only increasing edge contrast. Detail and focus-boost controls let it work on severe cases, but the result can contain inferred structure that was not legible in the source.

Properties

  • Generative focus and detail reconstruction.
  • Exposes detail and focus-boost controls for severe blur.

Best for

  • Recovers detail from severely blurred or out-of-focus images
  • Uses generative reconstruction to rebuild edges and textures
  • Best suited for difficult single-image recovery cases

Tips

  • Generative blur recovery for severely blurred images

How to use this model

  1. 1

    Use Super Focus only after conventional sharpening fails.

  2. 2

    Start with conservative detail and add focus boost only for severe blur.

  3. 3

    Compare against the source and a Standard or Strong result.

  4. 4

    Inspect identity, text, product geometry, skin, and repeated patterns for invented detail.

Parameters

Detail

Optional

Increases details. Too much sharpening can create an unrealistic result.

Focus Boost

Optional

Use on very blurry images. Focus boost corrects images that are missing detail by downscaling your image then upscaling the results back to the original size.

Denoise Strength

Optional

Removes noise from the image. Defaults to 0.5 if omitted.

Face Enhancement

Optional

Leverages face recovery model to enhance faces.

Face Enhancement Strength

Optional

Sets the strength of the face recovery. Required if face_enhancement=true.

Face Enhancement Creativity

Optional

Choose realistic or creative face recovery. Required if face_enhancement=true.

Subject Detection

Optional

Sets the subject detection mode.

  • foreground

  • background

  • all

Output Format

Optional

The desired format of the output image.

  • jpg

  • png

  • tif

Image

Required

Source image

Super Focus 3Available

Super Focus 3

Super Focus 3 refines blurred regions selectively so already sharp content receives less unnecessary reconstruction. It is intended for severe or uneven focus problems and can infer missing detail, making source comparison essential for faces, text, and identity-critical assets.

Properties

  • Selective generative reconstruction of blurred regions.
  • Designed to preserve already sharp regions better than a global reconstruction pass.

Best for

  • Selectively enhances blurred areas while preserving sharp regions
  • Produces more natural detail and improved realism, particularly on faces and skin
  • Can be applied multiple times for stronger recovery when needed

Tips

  • Next-generation generative blur recovery

How to use this model

  1. 1

    Use it when blur is severe or uneven across the frame.

  2. 2

    Keep reconstruction conservative when some regions are already sharp.

  3. 3

    Compare blurred and originally sharp regions separately.

  4. 4

    Verify faces, lettering, logos, and fine product geometry against the source.

Parameters

Denoise Strength

Optional

Removes noise from the image. Defaults to 0.5 if omitted.

Face Enhancement

Optional

Leverages face recovery model to enhance faces.

Face Enhancement Strength

Optional

Sets the strength of the face recovery. Required if face_enhancement=true.

Face Enhancement Creativity

Optional

Choose realistic or creative face recovery. Required if face_enhancement=true.

Subject Detection

Optional

Sets the subject detection mode.

  • foreground

  • background

  • all

Output Format

Optional

The desired format of the output image.

  • jpg

  • png

  • tif

Image

Required

Source image

WildlifeAvailable

Wildlife

Sharpen Wildlife is trained for high-resolution nature imagery and the fine organic structure of feathers, fur, scales, and foliage. Separate sharpen and denoise controls help retain natural texture without turning backgrounds or fine detail brittle.

Properties

  • Subject-specific model for wildlife and nature detail.
  • Exposes separate sharpen and denoise strength controls.

Best for

  • Optimized for feathers, fur, scales, and natural patterns
  • Avoids over-processing delicate detail
  • Designed for high-resolution nature photography

Tips

  • Detail recovery for nature imagery

How to use this model

  1. 1

    Use a high-resolution wildlife or nature source with readable texture.

  2. 2

    Balance sharpen and denoise rather than maximizing either control.

  3. 3

    Protect out-of-focus backgrounds and intentional depth of field.

  4. 4

    Inspect eyes, feathers, fur, scales, branches, and foliage for crunchy texture.

Parameters

Sharpen Strength

Optional

Removes blur from the image. Defaults to 0.5 if omitted.

Opacity

Optional

Defaults to 1.0 if omitted.

Denoise Strength

Optional

Removes noise from the image. Defaults to 0.5 if omitted.

Face Enhancement

Optional

Leverages face recovery model to enhance faces.

Face Enhancement Strength

Optional

Sets the strength of the face recovery. Required if face_enhancement=true.

Face Enhancement Creativity

Optional

Choose realistic or creative face recovery. Required if face_enhancement=true.

Subject Detection

Optional

Sets the subject detection mode.

  • foreground

  • background

  • all

Output Format

Optional

The desired format of the output image.

  • jpg

  • png

  • tif

Image

Required

Source image